The Tags Management interface in CheckoutNgo provides a simple yet powerful way to add additional context or categorisation to your products.
https://www.dashboard.checkoutngo.com/menu/tags
Tags allow you to group products with shared characteristics or purposes, enabling more streamlined processes and specialized workflows. In complex setups, tags can be pivotal for ensuring efficient operations.
For instance, in the example shown, the global tag “Pizza Printer” is applied to pizza products. This tag is configured to work with the receipt printing system, ensuring that only pizza items in an order are sent to the pizza chef’s workstation. This targeted approach reduces confusion and improves efficiency, as chefs see only the items they need to prepare.
Benefits of Using Tags
- Improved Workflow for Staff:
Tags like “Pizza Printer”, “Grill Station”, or “Dessert Area” can be used to segment products based on preparation areas. This means staff at different workstations see only the items relevant to their tasks, reducing errors and speeding up order fulfillment. - Enhanced Product Categorisation:
Tags enable you to add metadata to products beyond categories or attributes. For example, you can tag products as “Vegetarian,” “Gluten-Free,” or “Special Offer” to make filtering and reporting more meaningful. - Flexible and Scalable:
As your store grows, tags provide a scalable way to handle complexity. Whether you’re managing a small menu or hundreds of products, tags help you maintain clarity and control over workflows. - Streamlined Order Processing:
Using tags in combination with automated systems like receipt printers ensures that each team or individual receives clear instructions. For instance, pizza orders go to the Pizza Printer, while drinks may be directed to a Bar Printer.
How to Use the Tags Interface
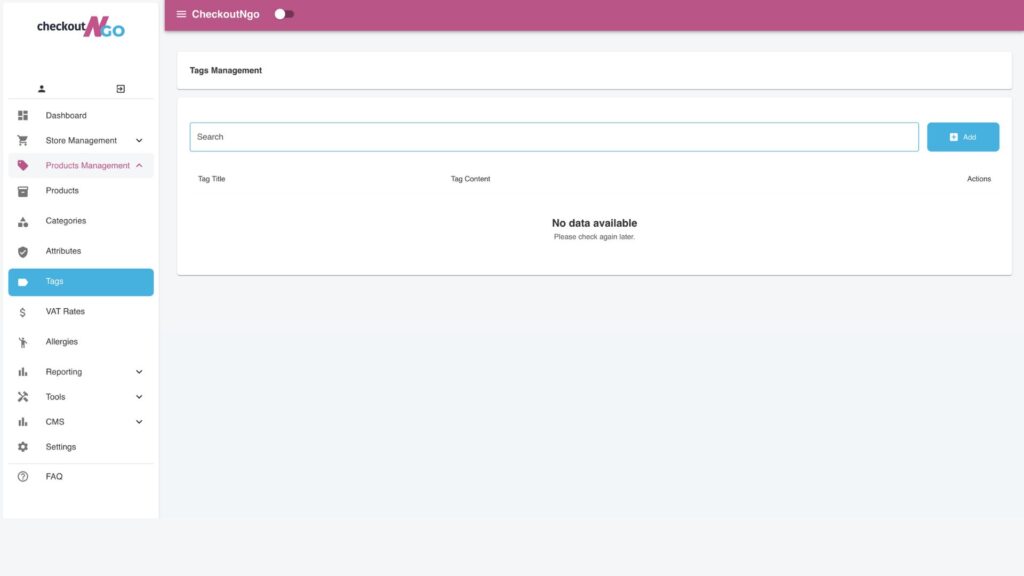
- Viewing Tags:
The Tags Management table displays all the tags you’ve created, including the Tag Title and its Content.
In the example, “Pizza Printer” is a tag designed to help route relevant orders to the appropriate station. - Adding a New Tag:
Use the blue Add button to create a new tag. Enter a clear and descriptive title that aligns with the tag’s purpose, such as “Drinks Printer” or “Grill Station.” - Assigning Tags to Products:
Click the Assign button to link a tag to specific products. For example, you could assign the “Pizza Printer” tag to all pizza products, ensuring they are handled correctly in the workflow.
The Assigning Interface in CheckoutNgo offers a simple and intuitive way for store owners to manage product assignments, whether you’re working with tags, attributes, VAT rates or Allergies. This interface ensures you can efficiently organise and customize your system to suit your operational needs, saving you time while providing flexibility.
How It Works
The interface displays two columns:
- Assigned Products: This column shows the products currently linked to the selected tag or attribute. Each product is marked with a checkbox to indicate its assignment.
- Unassigned Products: This column lists all other products that have not yet been assigned to the selected tag or attribute, allowing you to quickly expand your configurations.
A search bar at the top lets you locate products quickly by typing their name, ideal for menus with a large number of items.
4. Editing or Deleting Tags:
Use the Edit button to update an existing tag’s title or content.
If a tag is no longer needed, use the Delete button to remove it.
Using Tags Effectively in CheckoutNgo
Tags are highly customisable and can be used creatively to enhance your store’s efficiency. By leveraging the Tags feature, you can create a more organised, efficient, and streamlined operation, even in the most complex restaurant or takeaway setups.